
Collision editing
Collisions define which parts of a level Crash can stand on, walk into, or interact with.
Types of collisions
Section titled “Types of collisions”| Type | Description |
|---|---|
| Static collisions | Used by static models. They represent most of the level’s collision geometry and are rebuilt whenever you save a level. |
| Border collisions | Used by border components. They define the level’s boundaries and prevent Crash from going out of bounds. |
| Dynamic collisions | Used by enemies, platforms, hazards, and other dynamic objects. The game handles these automatically, so they don’t require any special treatment. |
| Dynamic clips | Box-shaped collision volumes that can interact with the player and/or enemies. They can be created and edited manually. |
Viewing collisions
Section titled “Viewing collisions”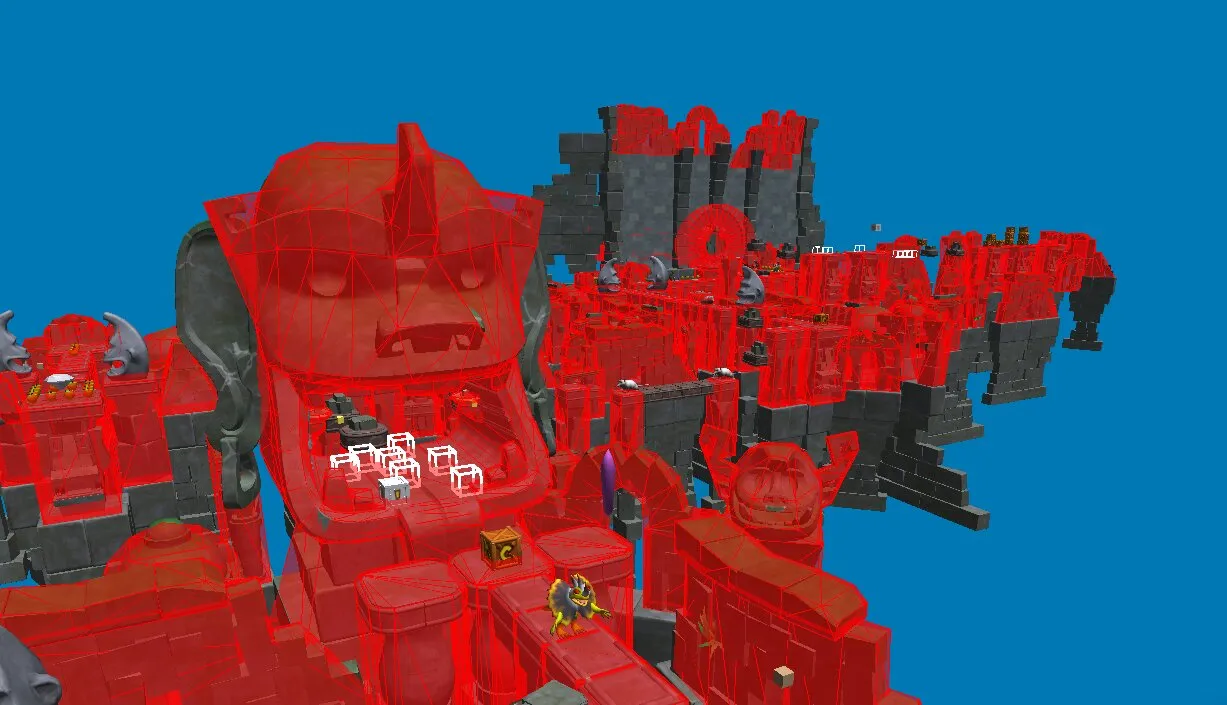
You can display static and border collisions by enabling their respective camera layers at the bottom of the Camera Layers panel. You can also click on any collision to focus its parent object.
This can be useful to see where the actual collisions in a level are, as:
- Not all objects have collision data
- The collision data doesn’t always match the visible geometry
- The collision data for an object can sometimes be defined in another object
Creating collisions
Section titled “Creating collisions”If a static model has no collision data, you can create a collisions using either of the following methods, depending on whether you need a simple box or an exact collision mesh.
Create box collision
Section titled “Create box collision”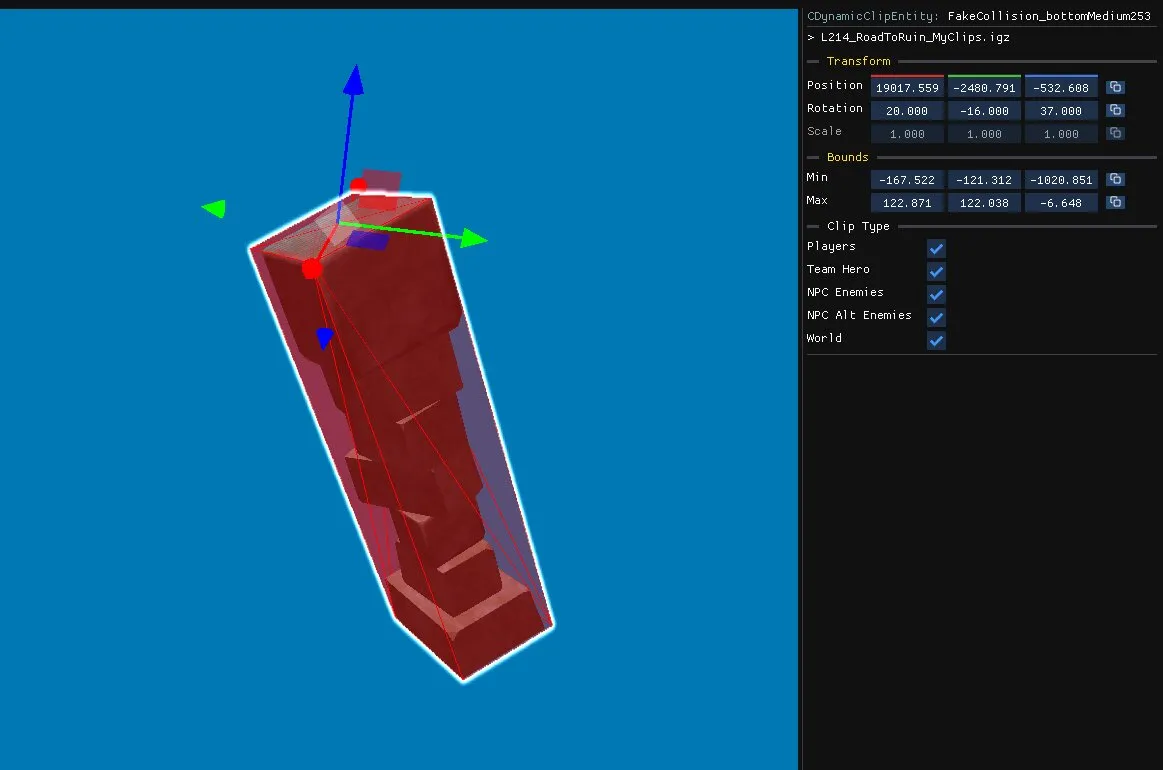
Creates a simple box collision based on the selected static model’s position, size, and rotation.
- Select the static model in the scene.
- Choose Create box collision.
- The editor creates a new dynamic clip matching the model’s position, size, and rotation. Use this method when a simple box collision is sufficient.
Create exact collision
Section titled “Create exact collision”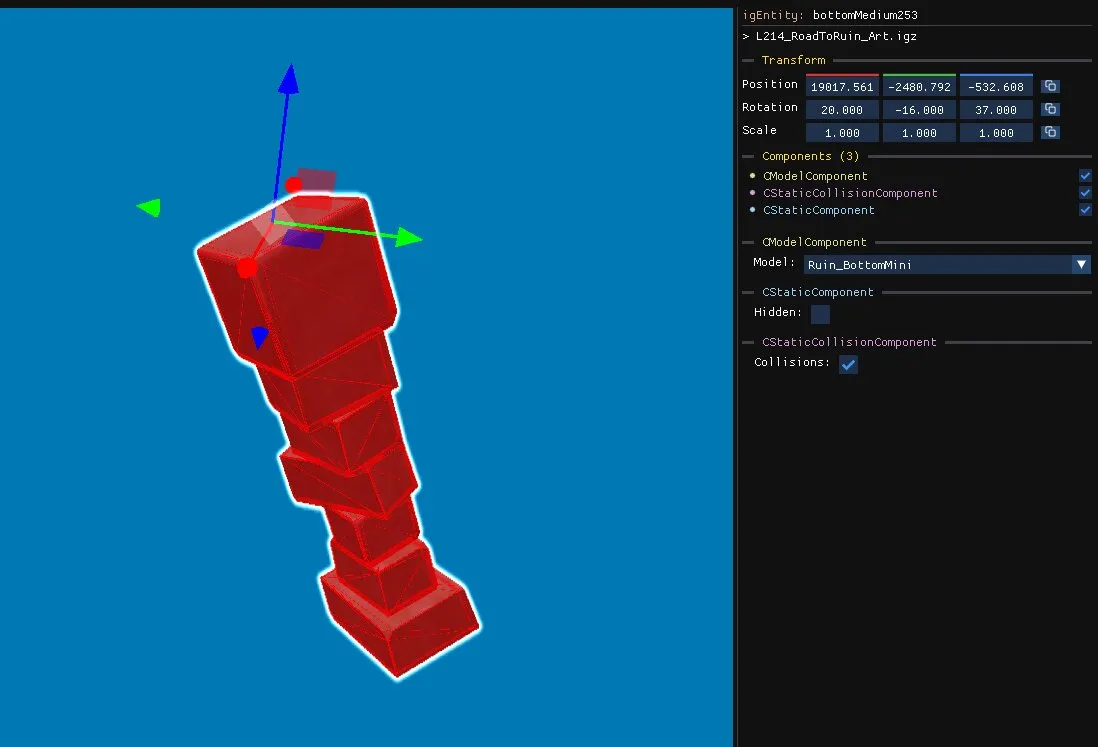
Creates a collision mesh that matches the exact shape of the selected static model.
- Select the static model in the scene.
- Choose Create exact collision.
- The editor generates a collision mesh using the triangles from the original model.
Editing collisions
Section titled “Editing collisions”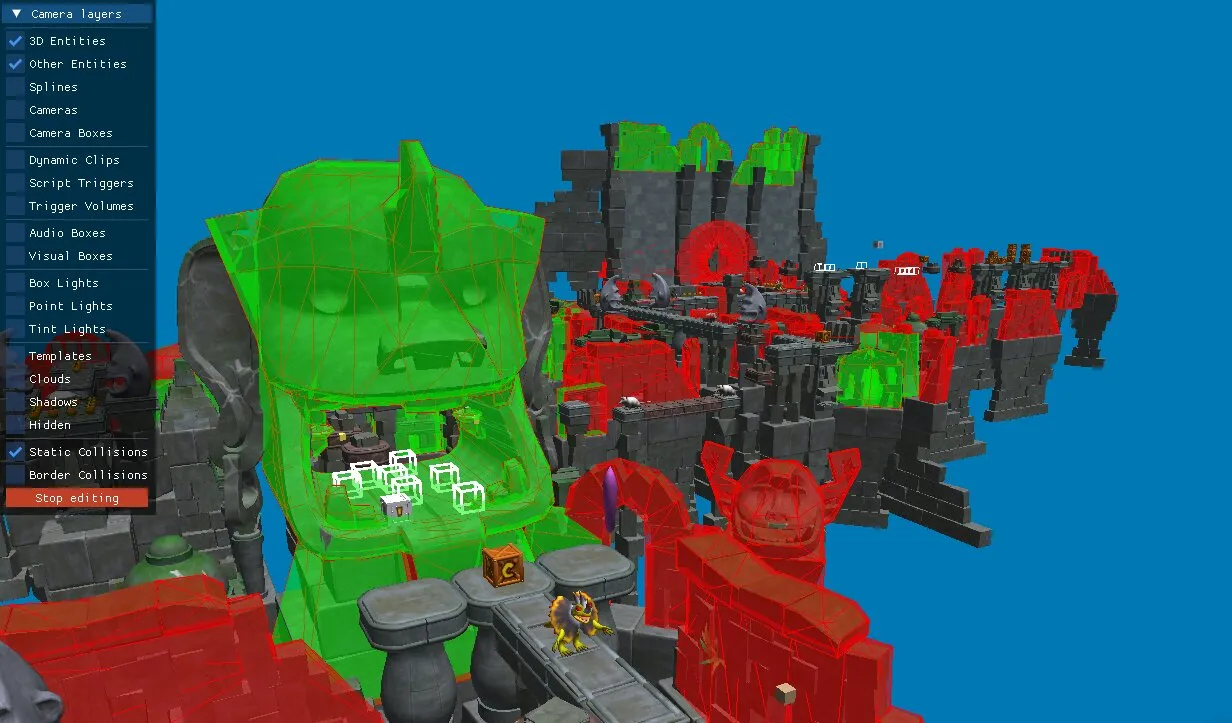
You can edit collision geometry when either the Static Collision or Border Collision camera layer is enabled.
Entering edit mode
Section titled “Entering edit mode”- Enable the Static Collision or Border Collision camera layer.
- Click Edit Collisions at the bottom of the camera layers.
Note: If some collision geometry disappears when you enter edit mode, it means that geometry cannot be edited. This affects only a small number of objects, usually simple ones.
Selecting collision faces
Section titled “Selecting collision faces”While in edit mode, you can select collision faces using the following controls:
- Click a face to select it.
- Shift + click to select additional faces.
- Left-click and drag to select multiple faces.
Tip: Disable the 3D Entities camera layer to make the collision mesh easier to see.
Removing faces and exiting edit mode
Section titled “Removing faces and exiting edit mode”- Press Delete/Suppr to remove the selected collision faces.
- Click Stop Editing to return to the regular editor.
Debugging collisions
Section titled “Debugging collisions”The collision debug views lets you inspect how static collision geometry is organized internally.
Open Editor Settings → Debug Mode and enable one of the following options:
- Havok Objects: Highlight objects that have static collision data.
- Havok Materials: Colors static collision triangles according to their material index (dirt, ice…)
- Havok Sections: Colors static collision triangles according to their BVH section index.
- Havok Primitives: Colors static collision triangles according to their BVH primitive index.